Photo report template in Word
Whether you're a construction worker, roofer, engineer, or contractor, more than likely, you've needed to create a photo report template in Word. They are helpful for documenting images that you've taken out in the field, or showing customers work that you've completed.
In this article, we are going to look at how you can create a photo report template in Word. This will be an easy, step by step process, so let's get started.
Cover page
Your first steo in creating a photo report template in Word is to open Word up. Once you have everything opened up, create a new file.
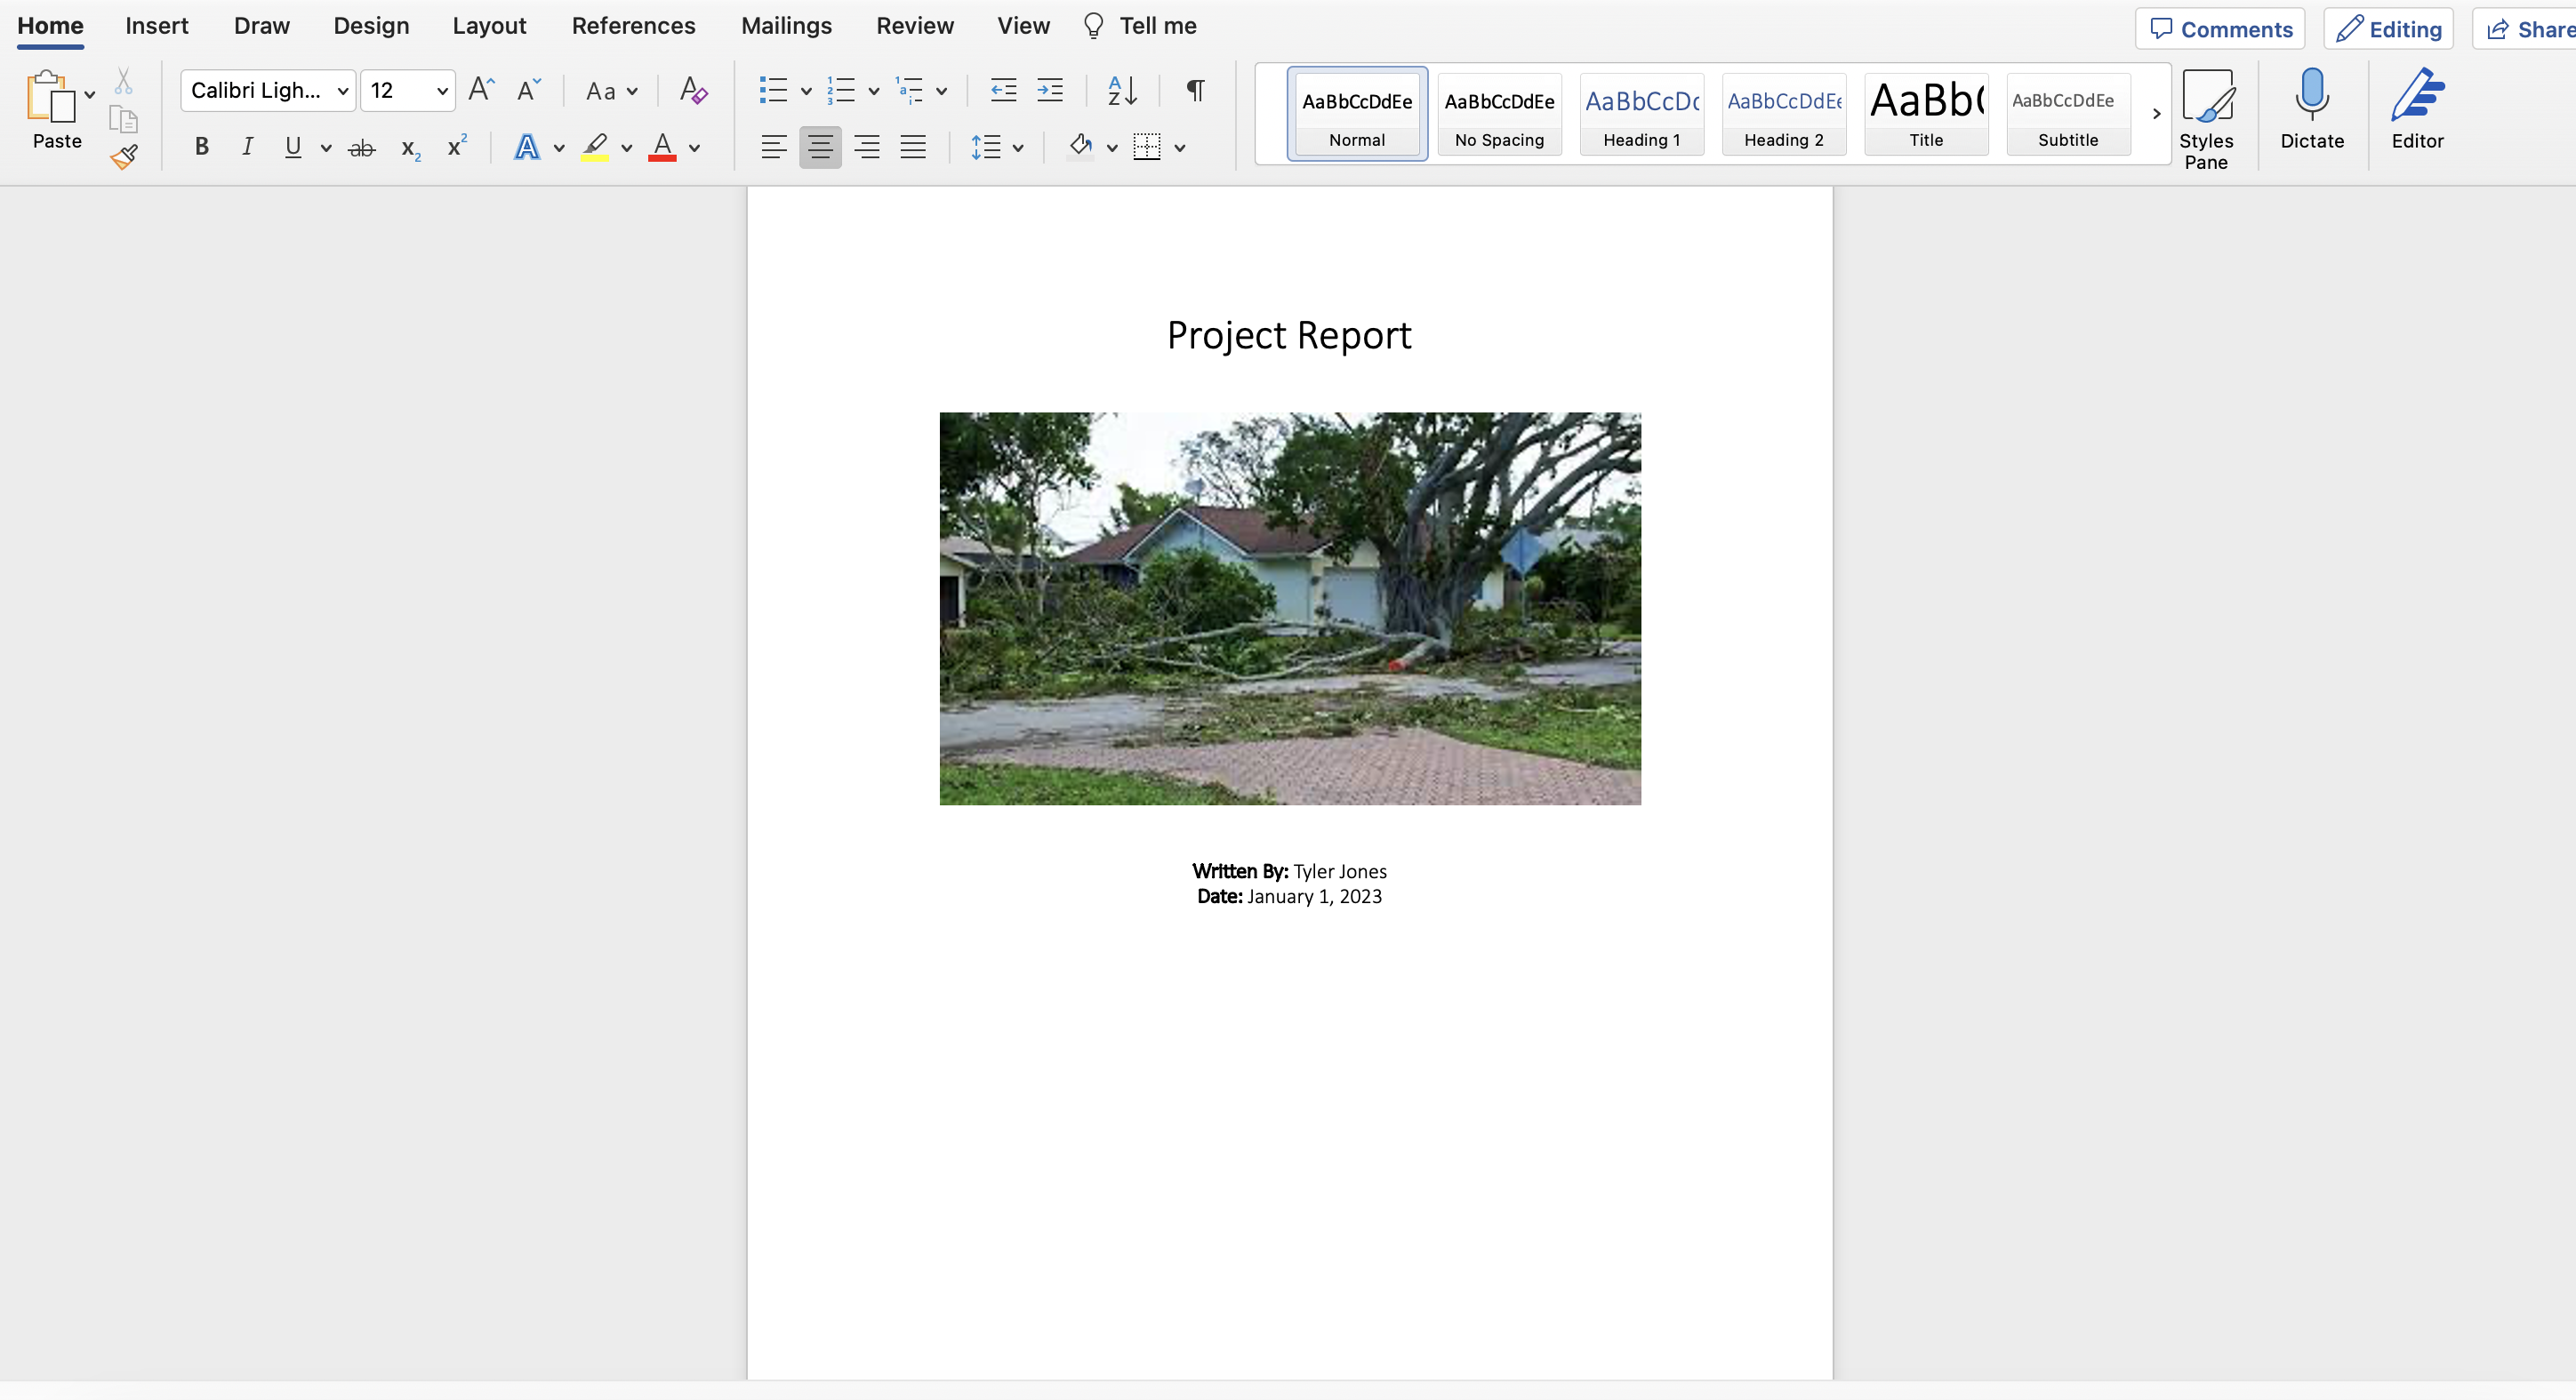
You should now be looking at a blank page. From here, the first thing you'll want to do is create a cover page for your photo report template in Word.
This cover page will have details such as the title of your project, your name, the date the report was written, the location of the report, and your company's logo. You'll want to center all this information down the middle of the page so everything looks neat and professional.
Another pro tip: Make the title of your report text size 30, and the rest of your details text size 17. Also, make your name bold. This will make your photo report template in Word look nice and neat. Once you have the cover page created, the next step is the actual content and key details. Let's get into it.
We have a tool that we've created to help you create photo reports easily, especially if creating a photo report template in Word gets complicated. If you're interested, click the link below to learn more.
Initial details
Your next step in creating a photo report template in Word, once you have your cover page created, is to write an introduction of what you'll be showcasing.
This can be information such as the work you did for the customer, the whole process from beginning to end, what tools you used, which team members were involved, and more.
In an introduction for a photo report template in Word, it's best to keep it simple, and clear, to the one who will be reading it.
Introductions are also good, becuase instead of just getting right into the photo documentation, you at least are giving a brief overview of the work that was done.
Create reports
The actual report
Now that you have your introduction created, you can now move on to the actual photo report in your photo report template in Word.
To keep it simple, set it up like this:
1: Have your initial image showing. Make it as wide as possible so the reader can see the key details.
2. Under that image, write key details about what you saw, whether it was damage, a leak, or something else.
3. Create titles for each section. For instance, you could say: "Front roof", or "Door area", with the corresponding images under that section.

Conclusion
Now that you've finished up your photo report template in Word, the last thing to do is write the conclusion.
You can keep this to just a couple sentences, saying once again what the report was about, and the work that you did.
The good thing about a template like this, is that you can use it over and over again to create your templates, and just change out the image and captions every time if you like.
Photo report template in Word
If you're looking for how to create a photo report template in Word, you'll want to check out our tool Kybo.
It's perfect for construction companies, engineering firms , roofers, contractors, and any business
owner
who is
looking for how to create a photo report template in Word, but realizes that Word might be too difficult to create these reports. Or, you need to easily share the reports or photos with others. Maybe you would like to send the report as a link.
If you're looking for how to create a photo report template in Word, but need an easy and simple solution, check us out.